Vintage Logos
Custom Drum Heads, Stage Graphics & Band Merch
888-351-0075 0

VintageLogos Has The Best Design Services Around — Here’s Why

VintageLogos Has The Best Design Services Around — Here’s Why

Every custom drum head we make is driven by people like you. We strive to help musicians and bands succeed, and we do that by improving their image with the best design services out there.

We seek to help you visually communicate your awesomeness to your audience.

But you probably have some questions, so let’s cover those now.

Why Should I Brand My Drum Head?

What is one thing that will make your band stand out from all the other bands? First, your music has to be heads above the rest (we already assume that’s the case).

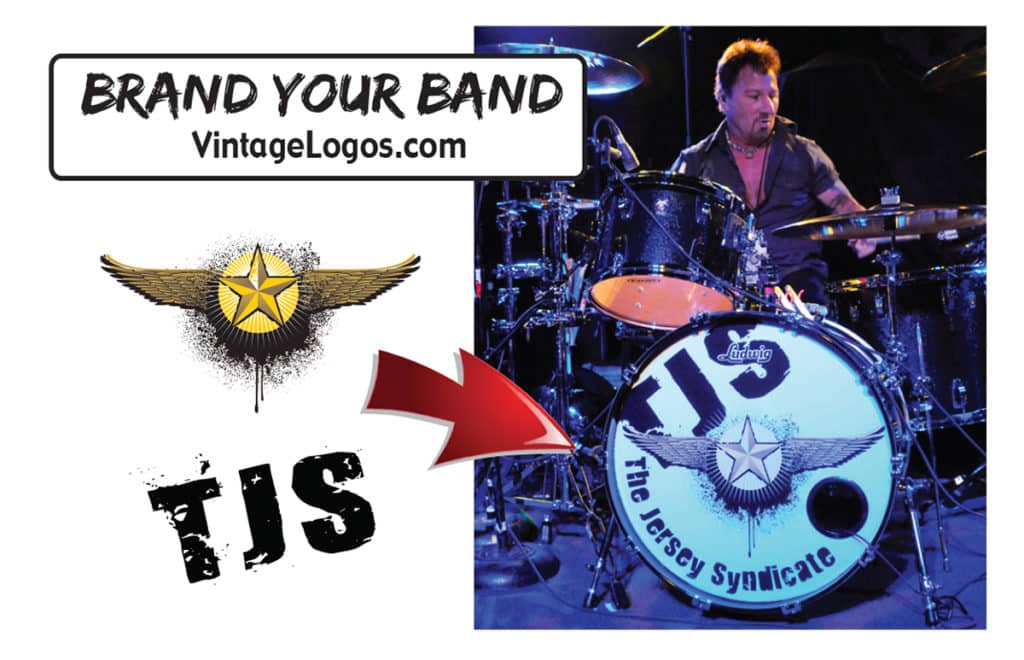
But the next thing is to enhance your image — your brand. The best way to do that is to improve your stage presence by branding your drum heads and amp grill cloths.

When people look at you and your band on stage, whether you’re opening for an all-star group or playing at a Battle Of The Bands, they need to know your name. Custom drum heads do this for you.

Branding your band helps define your stage presence, sets you apart, and makes you look like the professional you are.

What Do Other People Think?

As we’ve seen from our previous clients, getting a custom design from us changes things for the better.

Here’s what our customers think about us:

“VintageLogos knocked it out of the park again! Best advertising out there! Super fast, and perfect every time!” – Tom

“This company is by far the BEST professional graphic company that I have EVER seen! They did a great job doing my bass drum heads, and people everywhere that I play just drool over my Custom bass drum heads! Way to go, Vintage Logos!” – Joey

“Great product looks awesome!!!  This is THE place to go for great graphics!!” – Jim

What Options Does VintageLogos Offer?

If you decide to work with us to help brand your band, we offer a ton of great services.

We can help you with designing your logo and even making custom hand-drawn illustrations for you. VintageLogos’ staff has talent, experience, and professionalism when it comes to logo design. You’re sure to end up with an image that fits your band perfectly.

On top of our custom design service, we can also clean up your existing design. Maybe you already have a logo that you love, but it just needs a little help. Or maybe you have a photo that needs some retouching or photoshopping. That’s no problem — we can smooth it out, make it snap, and generally just clean it up and make it look professional.

How Quickly Can I Get My Design?

Simply put, we work fast. Have a big show next month or even in a couple weeks? You can count on us.

Here’s the breakdown of our turnaround times:

  • Simple Production – 1 to 3 business days for the first set of proofs (M-F)
  • Advanced Design – 2 to 4 business days for the first set of proofs ( M-F)
  • Premium Design – 3 to 5 business days for the first set of proofs (M-F)

Like we said, we’re fast.

Sounds Great — How Do I Get Started?

We thought you’d never ask. To learn more, you can check out our Design Services page and hit the “Get Started” button. That’s where you can tell us exactly what you need — what design service(s) you need, what products you want, upload your image or logo, and when you need it.

Plus, we’re super nice and friendly.

How Much Will This Cost Me?

We know what it’s like being a DIY musician, so we purposefully made our prices reasonable and doable.

Here’s what you can expect to pay for our services:

  • Simple Production: $25 to $100
  • Advanced Design: $130 to $225
  • Premium Design: $325 and up

See what we mean by “doable”?


vintage logos design services

Get Your Musician The Perfect Gift – Custom Drumheads & More

Get Your Musician The Perfect Gift 

VintageLogos is offering a coupon this holiday season — for a limited time, save 10% on all of our products.

To save 10%, use the promo code XMAS2018 at checkout. This is good until March 15, 2019, so you may want to act fast. It’s the perfect personalized gift for yourself or the musician in your life!

Don’t know what to order? Give a gift card. Your musician can design their own Custom Bass Drum Head, Speaker Grill Cloth and Bass Drum Shield Logos. Check out all of our custom products and band merch @ VintageLogos.com

VintageLogos wishes you and your family a Merry Christmas & Happy Holiday

How to Design a Custom Drum Head (Part 2)

In our last post, we provided an overview of the basic steps needed to design a custom drum head. Those steps included adding text, shapes, and artwork to your design, as well as configuring portholes and other design elements unique to drum heads. All of these steps were done using our free online designer app here at Vintage Logos.

Today we will look at the more advanced features of the designer app, as well as provide you with some design tips. This will help ensure that the design of your custom drum head looks just the way you want it: absolutely stunning!

The Vintage Logos Designer App: Advanced Features & Design Tips

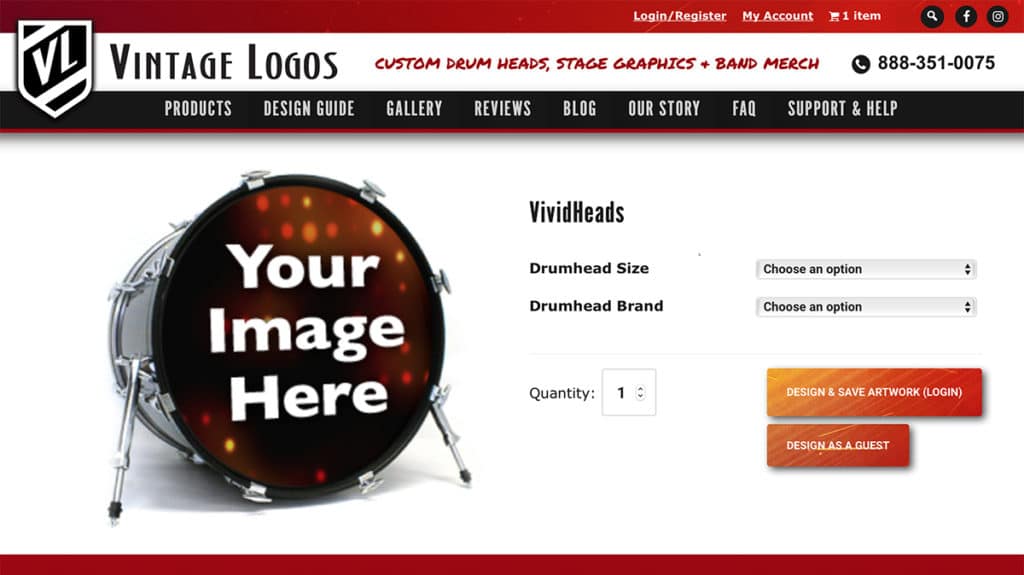
To begin, go ahead and launch the designer app as before. You’ll initially have to select the desired drum head size and brand. Then, if you have a saved design that you’d like to improve or finish, you can open that. Otherwise, create a new design!

Show/Hide the Grid

When designing, symmetry is very important — you want everything to look balanced and even. An easy way to achieve that is to line up everything to a grid. This feature can be easily enabled by clicking the “SHOW GRID” button at the bottom of the designer app. Once clicked, a grid will appear over the drum head. Keep in mind that each square in the grid represents 2 square inches in real life.

If at any point you’d like to turn off the grid again, simply click “HIDE GRID.”


Align Your Graphics and Text

In a similar way as the grid above, aligning allows your design to look as balanced and symmetrical as possible. Maybe you want to move all of the elements in your design into the very center or perhaps you want to align your text to one side or another. Whatever the case, here’s how you can do that:

Take a look at the left side of the designer app. Each element you add to your design (text, shapes, clip art, etc) is organized in a menu there. When you click on a specific element in that menu (or even the element in the design itself) you’re given a sub-menu of various editing options. One of those options is “align.” When you click on that, you’re given a menu with various alignment options, including a link to “align all items at one time.” Simply click the desired option and go from there!

Move Layers Up or Down

When adding and manipulating elements in your design, you may find that you need multiple elements stacked on top of each other. For example, you may have a piece of text that you’d like in front of a background image. This can be achieved by using the Layer Up and Layer Down feature.

This feature is available in the same sub-menu as the alignment option above. Once you’ve selected an element of your design, simply click the buttons “to front” or “to back” in the available sub-menu. This causes the element to move towards the foreground or background in the design. In addition, the element is reordered in its position in the menu on the left side of the app.

Design Effects

Most of the elements in your design have effects that you can add to them as well. These can be accessed via the sub-menu for each design element on the left side of the app. Here’s an overview of the effects you can choose from:

  • Distort causes the element to bend or stretch from its original shape
  • Outline (available for text and shapes only) adds a stroke outlining each letter of the text or a stroke outlining the entire shape
  • Rotate
  • Blur + and Blur – cause the element to appear more or less blurry and out of focus
  • Opacity + and Opacity – cause the element to be more or less transparent, allowing visibility of the element(s) and background underneath
  • Shadow adds a drop shadow to the element
  • Flip and Mirror

Need More Info?

If you’d like to continue reading about how to design your custom drum head, including best practices for professional design results, we recommend our Design Tips & Issues page. This covers such issues as bleed margin, color differences between computer screens and printed products, and much more.


How to Design a Custom Drum Head (Part 1)

Have you been wanting to design your own logo for a custom drum head but are intimidated by the process? Maybe you have an idea of what you want it to look like, but you’re not sure where or how to start?

Well today we have a post just for you! We’re going to walk you through, step-by-step, in designing your own custom drum head logo. Here at Vintage Logos we offer an online designer app that is free and easy to use. This app allows you to create anything from simple to sophisticated designs. What’s more, you can save your designs online to return to at a later time! Let’s take a look…

The Vintage Logos Designer App: A Tutorial On Making A Custom Drum Head

Step 1: Go to the online designer app

Step 2: Select your drum head

Before you can begin designing, you have to select the desired brand and size of drum head. This is important because the size of the drum head will affect how much available space you will have in your design. Once you have selected your drum head, click on “CREATE NEW DESIGN.”

Step 3: Start designing!

Below are some of the basic features of using our designer app. For more advanced features, stay tuned for part two of this post!

  • Set the background color: this is available in a scrolling menu on the lefthand side of the app. There are over 50 background colors to choose from!
  • Add text: this is done by clicking the “TEXT” link in the top-left corner of the app. There are lots of options to customize your text but we’ll just look at the two simplest for now: color and fonts. Color allows you to select from over 50 colors for your text and fonts gives you hundreds of font choices to choose from. You can also sample additional colors from files you upload.
  • Add shapes: this option is available via the “SHAPE” link at the top-left of the app. You have the choice of a square, circle, star, arrow, and more. (More on this in part two of this post!)
  • Add clip art, stock photos, and more: built directly into our app you have access to thousands of background images, clip art, and manufacturer logos, all free of charge! This can be done by clicking the “CLIPART” link at the top-left of the app. In addition, you have access to the millions of stock photos available on Fotolia.com, offered to you at a nominal fee.
  • Upload your own artwork: perhaps you have a pre-existing image you want to use in the design, or maybe you previously designed your full logo in a different app. Either way, these images can be added by clicking the “UPLOAD” link at the top of the app. You have the option to upload images from your computer or from Facebook or Instagram. You can also use this feature to create a QR code.
  • Add mic holes to your drum head: as you may know, adding a mic/port hole to your drum head gives your kick drum more versatility as well as improving its sound. It allows you to insert a microphone for live performance or recording and it also gives your kick drum more projection and attack. (Learn more about port holes at this page). You can easily add this feature by clicking the “MIC HOLES” link at the top-left of the app.

custom drum head
Step 4: Order (or save) your design

When you’re happy with the design of your drum head, simply click “ADD TO CART” in the top-right of the app to calculate the price. Then begin ordering your own custom drum head.

If you’d like to save the design and come back to it at a later time, you can click on “MY DESIGNS” at the top of the app. This gives you the option to “SAVE CURRENT DESIGN,” which you can then access in the future to continue working with.

Part 2 Coming Soon!

In the upcoming part two of this post, we will look at the more advanced features of the designer app. In addition, we will offer some design tips to make sure your logo looks as good as possible!

custom drum head